How to Use a USB Flash Drive Camera for Covert Recording
A USB flash drive camera is one of the most convincing disguised surveillance devices available. It looks, feels, and functions exactly like an ordinary USB flash drive — complete with working data storage — while secretly containing a miniature HD camera capable of video recording, motion detection, and audio capture.
What Is a USB Flash Drive Camera
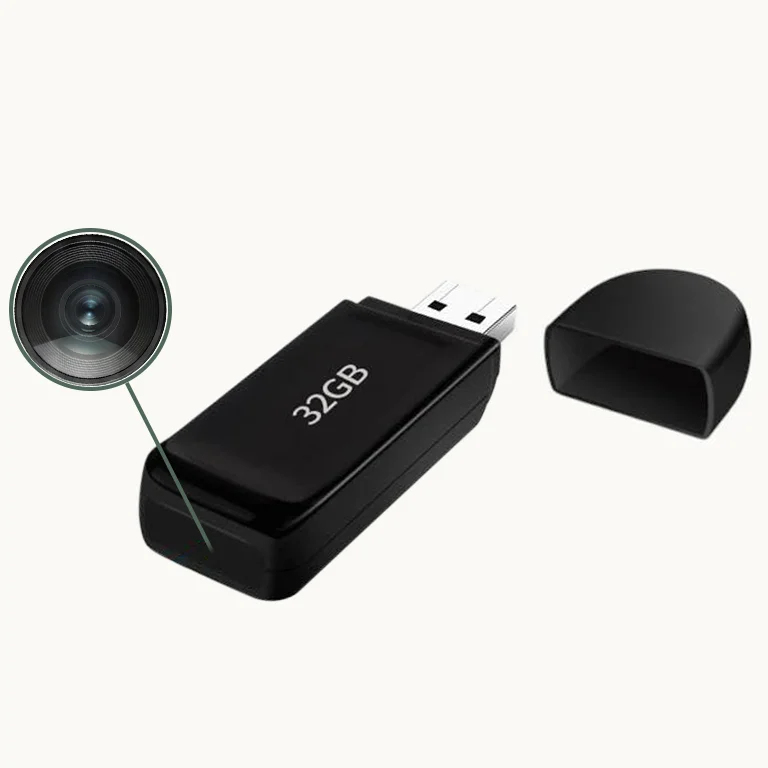
A USB flash drive camera is a dual-function device: it stores files like a regular USB drive and simultaneously contains a hidden 1080p camera. The lens is concealed behind a tiny aperture in the drive body, typically on the non-connector end, capturing footage of whatever is in front of it.
When plugged into a computer or USB hub, it appears as a standard storage device. Meanwhile, the onboard camera can record independently using a built-in battery — no active computer connection required for recording.
These devices are widely used for desktop monitoring, office security, and situations where a natural-looking object needs to serve as a surveillance tool.

How a USB Flash Drive Camera Works
The internal mechanism is straightforward:
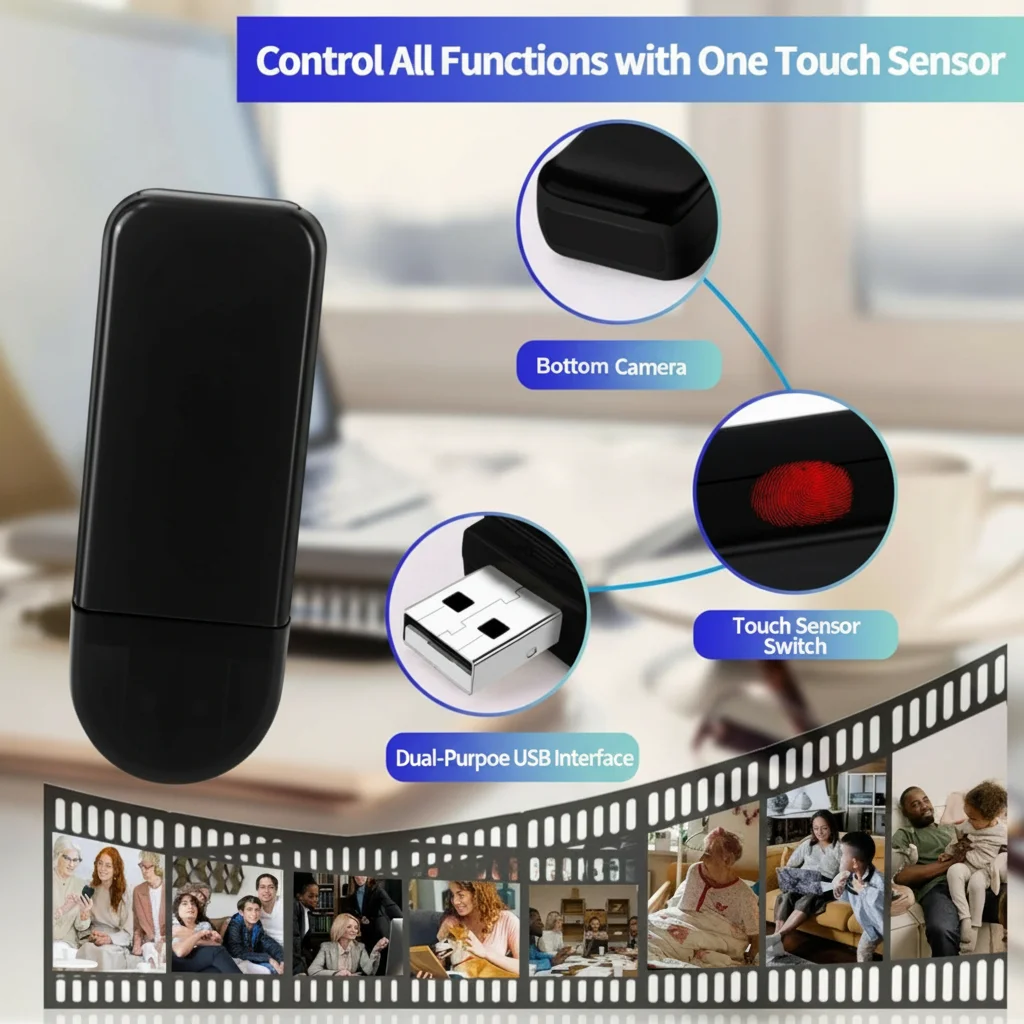
1. A miniature camera module with a wide-angle lens sits behind the pinhole aperture
2. An onboard battery (typically 200–400mAh) powers the camera independently
3. A microSD card or internal flash memory stores recorded video files
4. Simple operation: a single button or sensor activates recording
The camera can typically record in two modes:
– Continuous recording: Records constantly until battery or storage runs out
– Motion detection mode: Records only when movement is detected, extending battery and storage life significantly
Setting Up a USB Flash Drive Camera: Step-by-Step
Step 1: Charge the device
Connect the USB flash drive camera to a computer or USB charger via the charging port (usually a separate micro-USB or USB-C port). Charge for 2–3 hours before first use.
Step 2: Insert storage media (if applicable)
Some models use internal memory; others use a microSD card. Insert a Class 10 card rated for video recording.
Step 3: Format the storage
Connect to a computer, locate the drive in File Explorer or Finder, and format it as FAT32 for compatibility.
Step 4: Configure recording mode
Most models have a small button or switch to select between continuous recording and motion detection mode. Refer to the manual for your specific model.
Step 5: Position the camera
Place the USB drive in a USB hub, desktop stand, or simply leaning against an object with the lens facing your target area.
Step 6: Activate recording
Press the record button (or rely on motion detection). A subtle LED indicator typically confirms recording has started.
Step 7: Retrieve footage
Connect the device to a computer. Video files are stored as MP4 files in dated folders on the drive.
Best Positions for a USB Flash Drive Camera
The USB form factor makes it naturally at home in office and desk environments:
Computer desk: Plugged into a desktop computer or USB hub, it’s completely inconspicuous. Pointing toward the desk chair or room entrance provides excellent coverage.
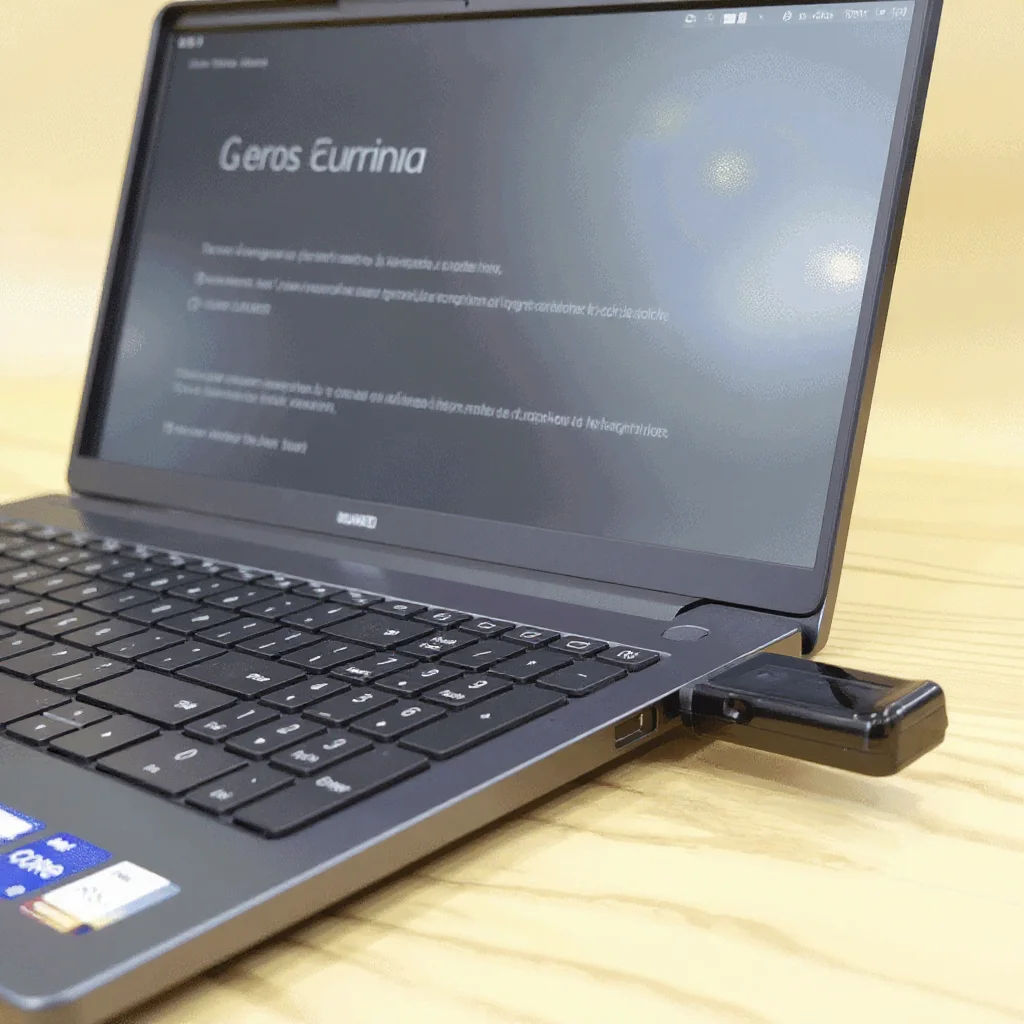
Laptop port: A USB drive permanently plugged into a laptop looks entirely ordinary. Position the laptop so the drive’s lens faces the room.
USB hub on a bookshelf: Positioned in a multi-port USB hub on a shelf at chest height, the drive captures a natural room-level view.
Reception or front desk: In business settings, a USB drive on the front desk camera captures visitor interactions naturally.
Home office: Monitors remote workers or captures evidence of property access while the homeowner is away.
How Long Does the Battery Last
Battery life depends on recording mode and model:
| Mode | Typical Battery Life |
|---|---|
| Continuous recording | 60–120 minutes |
| Motion detection standby | 4–8 hours |
| With external USB power | Unlimited |
For extended monitoring, plug the USB camera into a powered USB hub connected to the wall. The device draws power continuously from the hub while recording independently.
What Video Quality Should You Expect
Resolution: Most quality models record at 1080p Full HD (1920×1080). Lower-end models may be 720p HD.
Frame rate: Typically 30fps — adequate for clear identification of people and objects.
Audio: Built-in microphone captures ambient audio. Audio quality is basic compared to dedicated recording devices but functional for most monitoring purposes.
Low light: USB cameras typically don’t include IR night vision due to their small size. Recording in well-lit environments is recommended for clear footage.
Field of view: Usually 70–90° — sufficient for desk and room monitoring.
How to Review and Manage Footage
Video files are stored as numbered or timestamped MP4 files:
1. Connect the USB camera to your computer
2. Open File Explorer (Windows) or Finder (Mac) — the device appears as a USB drive
3. Navigate to the video folder (typically labeled “DCIM” or “VIDEO”)
4. Play files with VLC, Windows Media Player, or QuickTime
5. Copy important files to your computer for backup
6. Delete old files to free space for new recordings
With loop recording enabled, older files are automatically overwritten when storage is full.
USB Flash Drive Camera vs Other Hidden Cameras
| Feature | USB Flash Drive Cam | Smoke Detector Cam | Power Bank Cam |
|---|---|---|---|
| Discretion | Excellent | Excellent | Excellent |
| Coverage area | Desk/room level | Full room overhead | Desk/room level |
| Battery (standalone) | 1–2 hours | 3–6 months (batteries) | 3–6 hours |
| WiFi / Remote view | Usually no | Yes (WiFi models) | Yes (WiFi models) |
| Price | $30–$80 | $60–$150 | $60–$180 |
| Best use case | Desktop monitoring | Full room surveillance | Portable monitoring |
Conclusion
A USB flash drive camera excels in office and desktop monitoring scenarios where a natural-looking device is needed. Its genuine dual functionality — real USB storage plus hidden camera — makes it one of the most convincing covert recording tools available. Setup is simple, operation requires minimal technical knowledge, and footage quality at 1080p is sufficient for most security and documentation purposes. For extended monitoring beyond the built-in battery life, connecting to a powered USB hub provides unlimited recording time.
FAQ
Can a USB flash drive camera be detected?
Standard visual inspection won’t reveal the camera. Lens detection devices and RF detectors can detect active cameras. The lens itself is not detectable without active scanning.
Does the USB drive still work as storage?
Yes — quality models function as genuine USB storage devices. You can store and transfer regular files alongside video recordings.
Can I use the camera while it’s charging?
Yes — most models record and charge simultaneously when connected to a powered USB port.
What format are the video files saved in?
Typically MP4 (H.264 encoded), compatible with all major video players and editing software.
How do I know when the battery is low?
Most models have an indicator LED that changes color or blinks when battery is low. Some models auto-save and stop recording when critically low.