Struggling to find a versatile, high-quality camera module for your custom projects? It's frustrating when legal restrictions and quality issues block your innovation. Our DIY modules1 solve this problem.
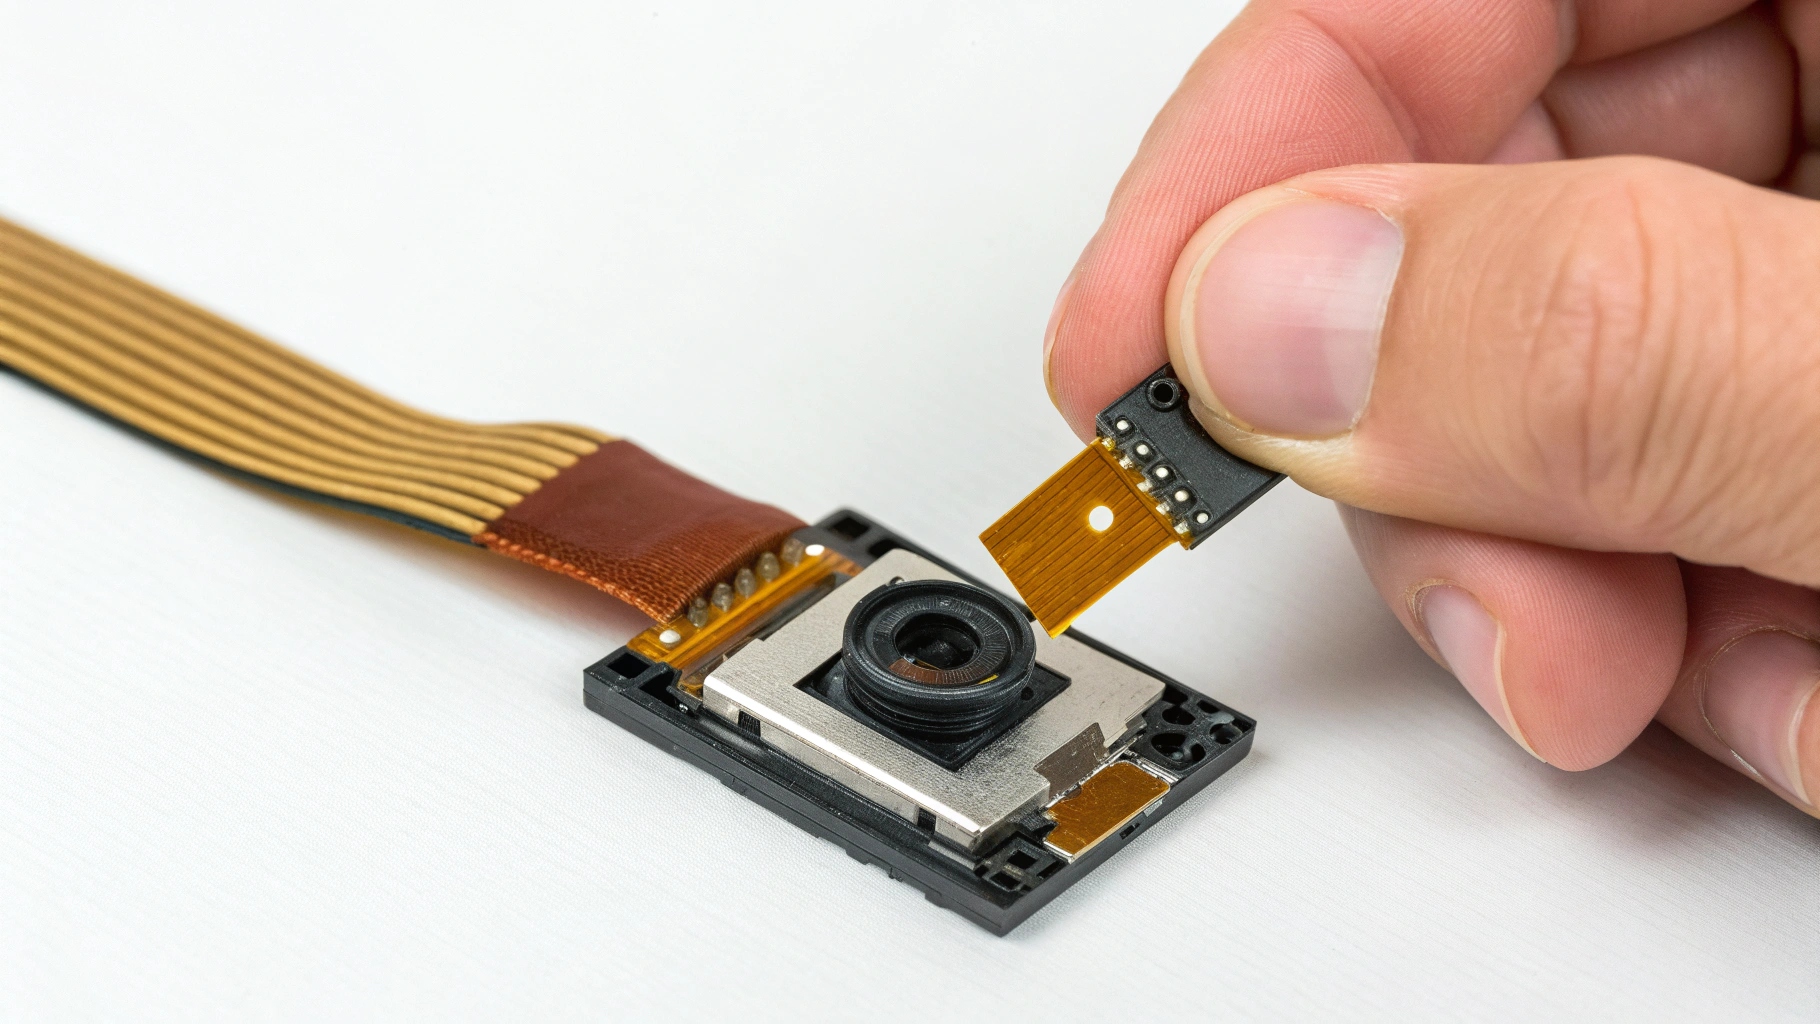
Modifying a micro camera module involves connecting its flexible flat cable (FFC)2 to a power source and processing board. You then carefully place the small lens into a pre-made hole or space on your object, securing both the lens and the board inside the object's casing.
I remember talking to a client from Poland, Piotr. He was an expert in e-commerce, but he was tired of the sourcing process. He needed a reliable, certified product for a new custom line he was developing. He told me, "Taylor, finding a good module is half the battle. The other half is ensuring it's legal and reliable for my customers in the EU." He was worried about the technical side of modification. I told him that once you understand the basic connections, the creative part becomes much easier. The first step is always getting the connection right. So, let's start there. This knowledge will give you the confidence to build amazing products.
How to connect a camera module?
Connecting a new camera module feels risky. You worry a wrong move could fry the delicate electronics. I will show you how to connect it safely and correctly.
The key is the flexible flat cable (FFC)2. Gently lift the small black or brown clip on the connector socket. Slide the cable in, ensuring the metal contacts face down. Then, press the clip down firmly to lock it. This ensures a secure data and power connection.
When I first started in this business over 10 years ago, I damaged a few modules myself. It was a learning experience. Now, at QZT, we design our modules to be as user-friendly as possible. The most important part is the connection between the camera lens and the main board. We use a standard interface to make this simple. You also need to connect a power source, usually a small lithium battery, and an antenna for Wi-Fi.
Many clients, especially those new to DIY projects, ask for a step-by-step guide. Here's how we advise them:
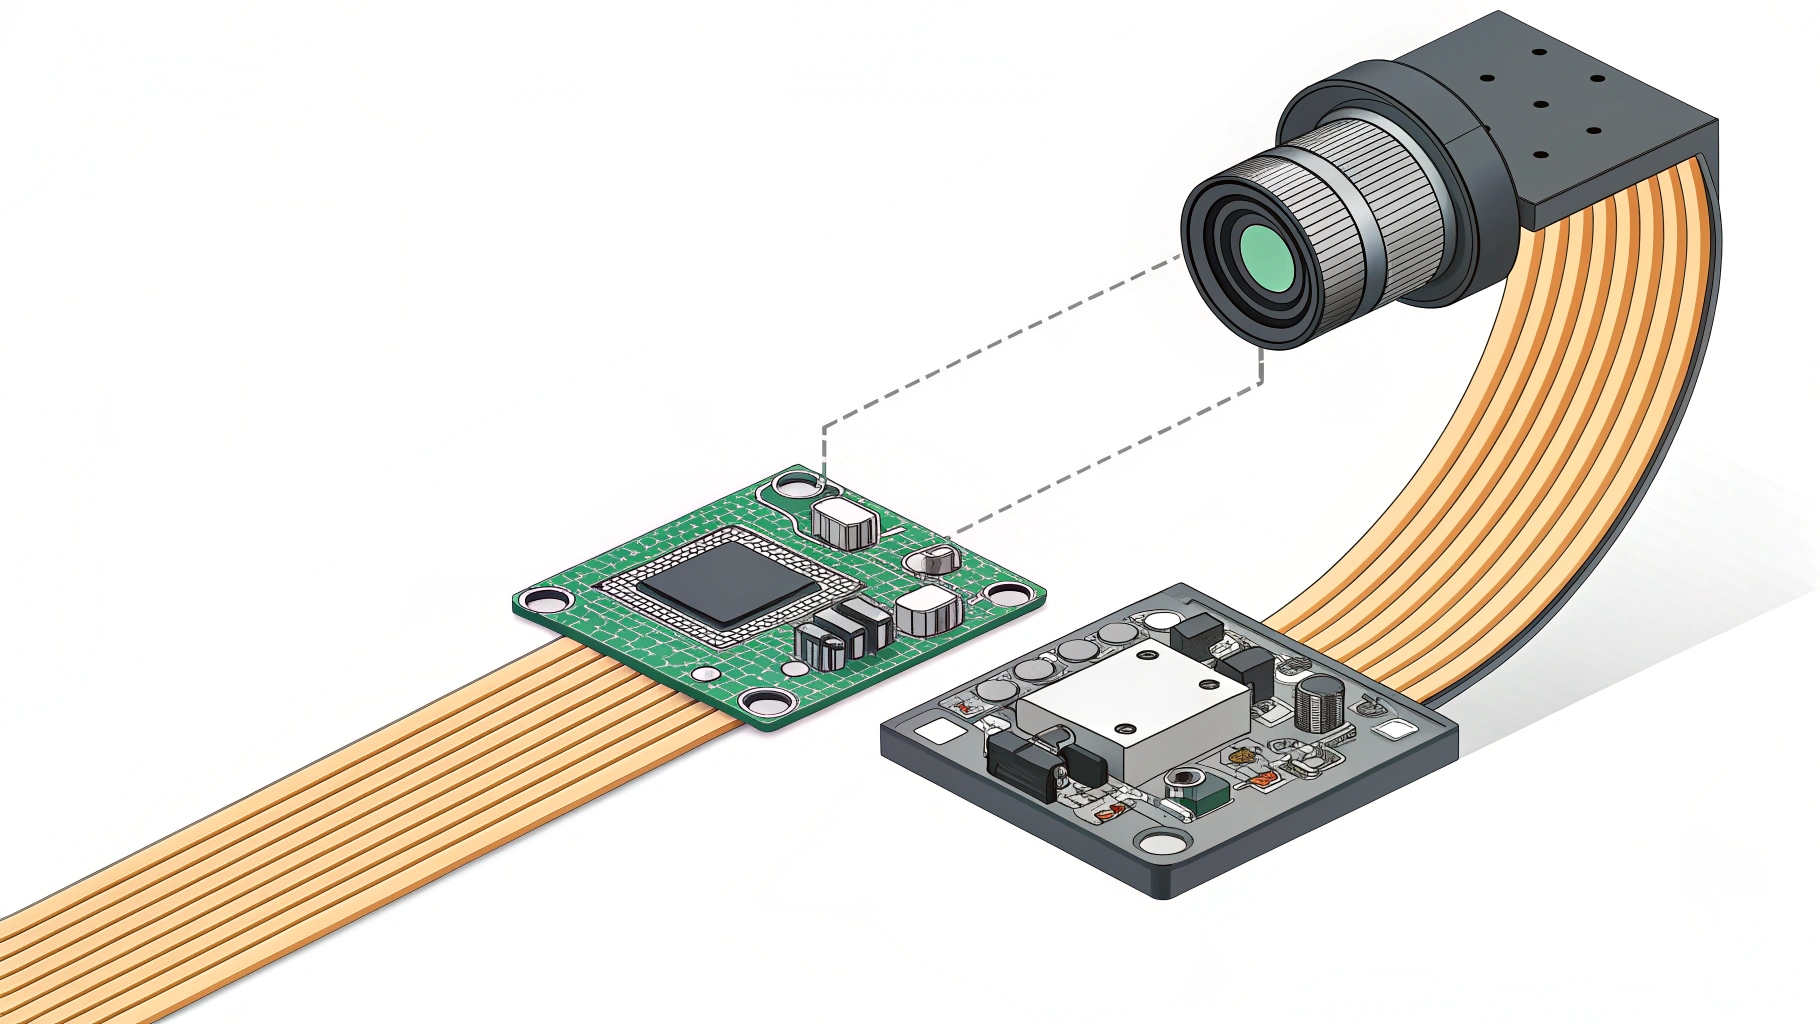
Step 1: Identify the Connectors
First, look at the main board. You will see a few key sockets. They are usually labeled.
- Camera Socket: This is for the flat cable from the lens.
- Power Socket: This is where the battery connects.
- Antenna Port: A small, often circular, port for the Wi-Fi antenna3.
Step 2: The Connection Process
Here is a simple table to guide you. It breaks down the process.
| Component | Connection Point | Action | Pro Tip |
|---|---|---|---|
| Lens Unit | Main Board Camera Socket | Gently lift the locking clip, insert the cable, and push the clip down. | Make sure the blue tab on the cable faces up, away from the contacts. |
| Battery | Main Board Power Socket | Align the plug with the socket. It only fits one way. Push it in gently. | Never force the plug. If it doesn't fit, check the orientation. |
| Wi-Fi Antenna | Main Board Antenna Port | Snap the small connector onto the port. You should feel a slight click. | This connection is small. Be gentle to avoid bending the port. |
This process makes assembly straightforward. We ensure our modules have clear connection points to help our partners, like Piotr, create their products efficiently without needing to be electrical engineers.
What is the use of camera module in aspberry Pi
Are you a Raspberry Pi hobbyist4 looking for new projects? You might wonder how a camera module can expand its capabilities. It turns your Pi into a powerful surveillance system.
A camera module gives your Raspberry Pi eyes. It lets you build custom security cameras, create time-lapse videos5, run object detection programs6, or even make a smart doorbell. It transforms a simple computer into a versatile, vision-enabled device for countless creative and practical applications.
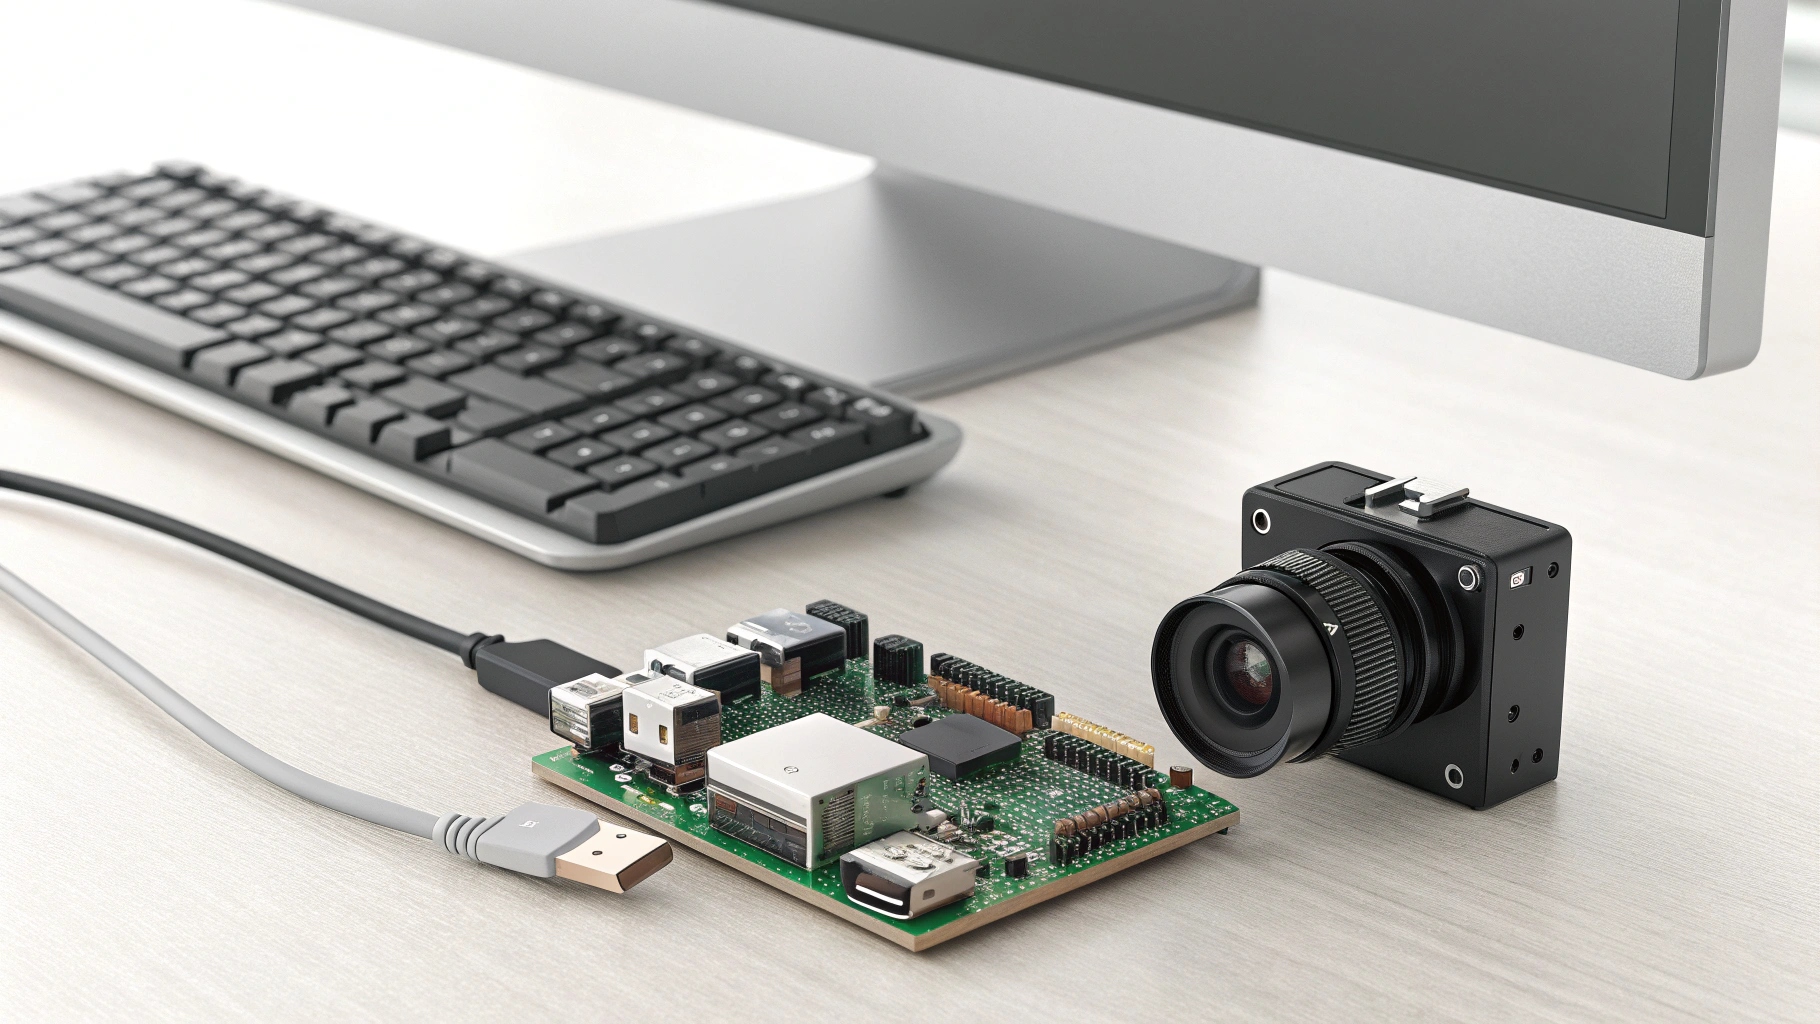
While my company, QZT, specializes in standalone DIY modules1, the principles are very similar. Many of our clients start their journey with platforms like Raspberry Pi or Arduino. They learn the basics of hardware and software there. A client in North America once told me he used a Raspberry Pi to build a prototype for a bird-watching camera. He tested his concept, and once he proved it worked, he came to us for a more professional, scalable solution.
Our modules offer a more integrated approach. A Raspberry Pi project requires a bit of coding and setup. Our modules are designed to connect directly to a smartphone app, like Tuya. This is a huge advantage for creating consumer-ready products. The goal is the same: to add vision to an object. But the path is different.
Raspberry Pi vs. Standalone Modules
Let's compare the two approaches. This helps clarify which is right for your project.
| Feature | Raspberry Pi with Camera | QZT Standalone Module |
|---|---|---|
| Setup | Requires coding (Python) and OS configuration. | Plug-and-play. Connect to power and link to an app. |
| Use Case | Ideal for learning, prototyping, custom software. | Ideal for creating finished, user-friendly products. |
| Ecosystem | Open-source software. | Closed, stable ecosystem (e.g., Tuya Smart Life7). |
| Certification | Components bought separately. CE/ROHS not guaranteed. | We provide full CE/ROHS certification8 for the entire module. |
For a business owner like Piotr, who serves the EU market, our certified standalone modules are the logical next step after prototyping. They remove the complexity and legal risks associated with building a product from separate, uncertified components. We handle the difficult parts of engineering and certification. This allows our clients to focus on design and marketing.
How to test a camera module?
You have connected your module, but does it work correctly? Testing seems technical, but a simple functional check will give you peace of mind and ensure quality for your customers.
Power on the module and connect it to its designated app, like Tuya. Check for a clear, stable live video feed. Test features like recording, night vision9, and motion detection10. A systematic check ensures every function works as promised before you build it into your product.
I always tell my partners that testing is the most critical step before mass production. We had a case where a distributor in Italy was creating a new line of smart home devices. He was very diligent. Before placing a large wholesale order, he asked for several samples of our Tuya-enabled modules. He spent a week testing them. He checked the video quality at different times of day. He tested the Wi-Fi range11. He even tested how quickly it sent motion alerts to his phone.
He called me after and said, "Taylor, your modules are excellent. The 1080P12 is truly clear, and the Tuya integration is seamless." This detailed testing gave him the confidence to partner with us. It's why we encourage all our clients to be thorough.
A Simple Testing Checklist
Here is a checklist you can use. It covers the basics for our Wi-Fi DIY camera modules.
Tertiary Heading: Pre-Installation Functional Test
- Power Up: Does the module power on correctly when the battery is connected?
- Wi-Fi Connection: Can you connect the module to your Wi-Fi network using the Tuya app? Is the signal stable?
- Live View: Is the video feed clear and free of distortion? Is the color accurate?
- Audio Check (if applicable): Can you hear audio clearly through the app?
- Recording: Does the module record video to the SD card or cloud successfully? Can you play it back?
Tertiary Heading: Post-Installation Quality Control
- Lens Placement: Is the lens centered correctly in the object? Is the view unobstructed?
- Heat Dissipation: Does the module get excessively hot after running for 30 minutes?
- Final Function Check: Run through all the app's features one last time.
This structured testing process is crucial. It’s what separates a professional product from a hobbyist's project. For my B2B clients, this is a non-negotiable step to maintain their brand's reputation for quality and reliability.
How to connect camera module to Arduino?
Want to integrate a camera into your Arduino project? It can seem complicated because Arduino boards are less powerful than Raspberry Pis. But it's possible with the right module.
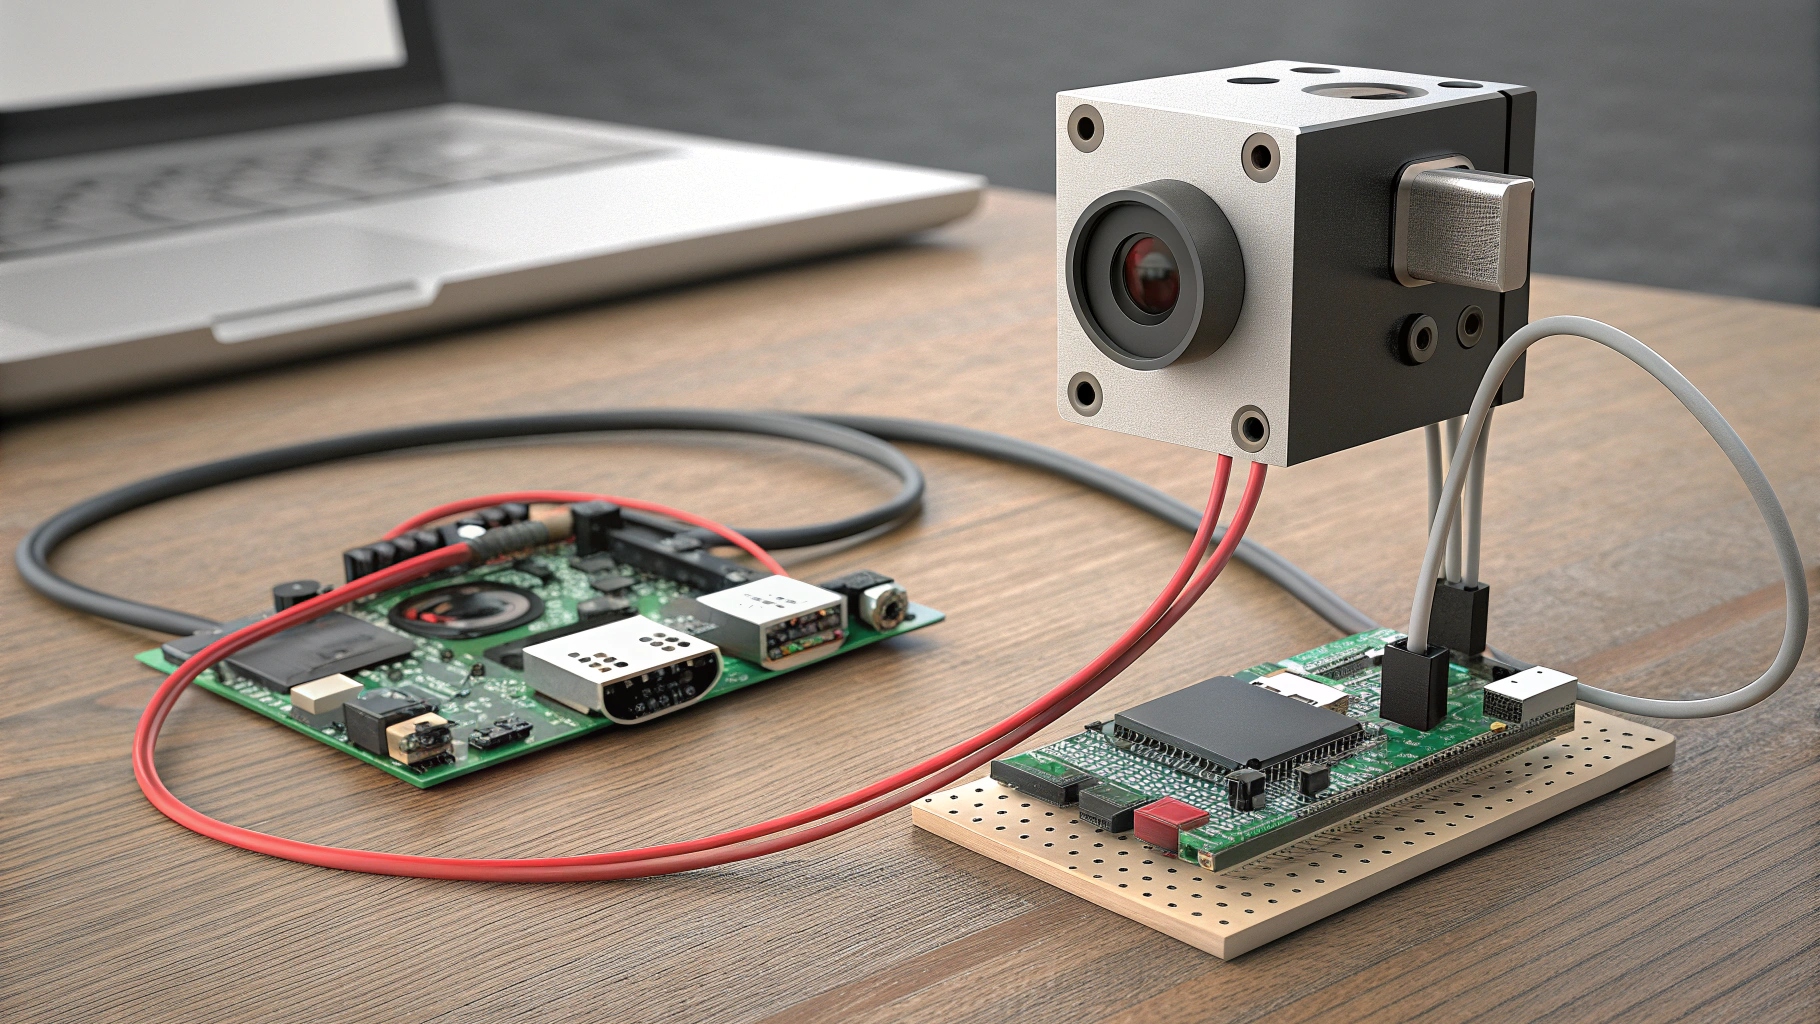
You need a camera module with a serial (UART) interface13, like the ArduCam14. You connect the module's VCC to Arduino's 5V, GND to GND, TX to Arduino's RX, and RX to Arduino's TX. Then, you use a specific library to control the camera through code.
Arduino projects were my gateway into the world of microelectronics. I remember the excitement of making an LED blink for the first time. Connecting a camera was a huge step up. It's a popular project for students and hobbyists. However, for a commercial product, Arduino has limitations. The processing power is low, so you won't get high-resolution, smooth video streaming15 like you would with our dedicated modules.
An electronics distributor in Japan once shared his experience. He saw a growing market for smart gadgets but found Arduino-based prototypes too slow and unreliable for consumers. He needed something more robust. That’s when he switched to our standalone Wi-Fi modules. They have their own powerful processor designed specifically for video.
Understanding the Technical Differences
Why is an Arduino connection so different from our QZT modules? It comes down to system architecture.
| Aspect | Arduino with Camera | QZT Wi-Fi Module |
|---|---|---|
| Processor | Arduino (e.g., ATmega328P) is a microcontroller. | Our module has a dedicated System on a Chip (SoC)16 for video. |
| Video Quality | Low resolution (e.g., 320x240). Low frame rate. | High resolution (1080P12). Smooth, real-time video streaming15. |
| Connectivity | Requires extra shields for Wi-Fi or Bluetooth. | Built-in Wi-Fi. Connects directly to the cloud and app. |
| Power | Draws power from the Arduino board. | Self-contained unit with its own battery management17. |
Our unique advantage, especially for clients like Piotr in Europe, is that our modules are produced in our Vietnam factory18. We are one of the few who can legally produce Tuya-enabled devices19 for export. Many Chinese factories face restrictions. This means we can offer a cutting-edge, 1080P12, Wi-Fi-enabled module that is small, easy to DIY, and fully CE/ROHS certified for the EU market. For a business owner, this combination of performance, ease of use, and legal compliance is a powerful advantage.
Conclusion
In summary, modifying a camera module is simple with the right product. Our certified, easy-to-use DIY modules1 provide the reliable, high-quality solution you need for your custom projects.
DIY modules give you flexibility to create tailored camera solutions for unique applications. ↩
Understanding FFC cables is essential for making secure and reliable connections in camera modules and other electronics. ↩
Proper antenna setup ensures strong and stable wireless connectivity for your camera module. ↩
Exploring Raspberry Pi camera projects can inspire creative and practical applications for your own builds. ↩
Time-lapse videos are a fun and visually striking way to showcase changes over time using your camera module. ↩
Object detection adds advanced AI capabilities to your projects, making them smarter and more interactive. ↩
Tuya Smart Life integration allows easy control and monitoring of your camera module via smartphone. ↩
Certification ensures your products meet safety and environmental standards, avoiding legal issues in the EU market. ↩
Night vision enables your camera to capture clear images in low-light conditions, expanding its usability. ↩
Motion detection adds security and automation features, making your camera more functional and efficient. ↩
Optimizing Wi-Fi range ensures stable video streaming and reliable remote access to your camera. ↩
1080P resolution provides high-definition video quality, essential for professional and consumer applications. ↩
Understanding UART connections is key for integrating cameras with microcontrollers like Arduino. ↩
ArduCam offers versatile camera solutions for Arduino, enabling creative and technical projects. ↩
Real-time streaming allows you to monitor and record events instantly from anywhere. ↩
SoCs integrate processing power and functionality, enabling high-quality video in compact devices. ↩
Good battery management ensures longer operation and safety for portable camera devices. ↩
Vietnam-based production can offer legal, logistical, and quality benefits for international markets. ↩
Tuya-enabled devices provide seamless smart home integration and remote control capabilities. ↩